
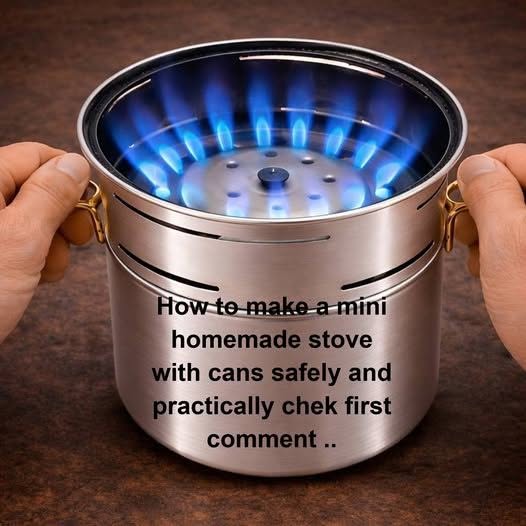


When resources are scarce or you’re simply looking for a practical and economical solution, this ingenious invention can get you out of more than one tight spot. With simple and easy-to-find materials, it’s possible to create a portable mini-stove capable of generating enough heat to warm liquids or small containers. Below, I’ll explain how to make it step by step in a clear and safe way.
Materials needed
- 2 cans of tuna (cleaned and dry)
- 1 can of soda
- Screw with nut
- Steel wool or steel sponge
- Alcohol (preferably ethyl alcohol)
- Sandpaper or metal grinding tool
- Tool for making holes (nail, drill or awl)
- Grinder or grooving tool (optional)
Step-by-step instructions for assembling the mini stove
1. Prepare the combustion chamber
Take one of the tuna cans and make several small holes all around the base, forming a circle. These holes will allow for proper ventilation of the fire.
2. Create the support base
Using the beverage can, carefully remove the bottom part (the metal base). Then, draw a circle on the base and make six large holes, approximately 1 cm in diameter, evenly spaced. Also make a hole in the center.
3. Join the pieces
Attach the base of the beverage can to the perforated tuna can using a screw and nut, ensuring it is secure. This structure will serve as a support and air intake.
4. Improve ventilation
Using an angle grinder or similar tool, make small grooves in the sides of the tuna can to improve airflow. This will help make combustion more efficient.
5. Prepare the second can
On the other tuna can, make two holes opposite each other on the sides. Then, using the tabs from the beverage cans, create small “ears” or side supports. This will allow you to place a small container on top.